Handmade folding fan manual
Summer season, is the most used fan season, bag at any time a small folding fan, fan wind is the best. There are many kinds of folding fans, hard paper fans are best used when fan wind, this folding fan can be used to fan the wind to cool, but also in some performances to play a decorative role. The friend who likes handcraft can make beautiful folding fan personally to give friend as a gift is also very good, beautiful folding fan is also a work of art yo, let's have a look at the tutorials of handmade folding fan production.
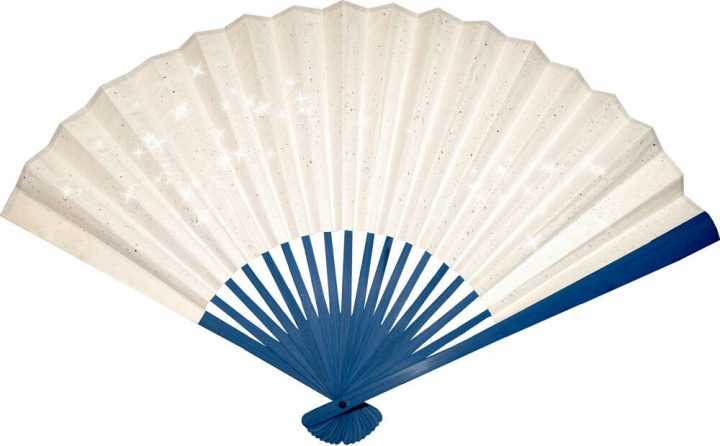
1.Folding fan parts: fan cloth (paper), ring buckle, fan support.
2.Preparingthe bracket, face the outside, clip the middle bone between them, and insert the ring fastener. The completion will be like this. (all seven are of the same length)
3.Draw a half circle on ordinary paper with a compass. First, draw a straight line (red line) and determine the center (yellow x).) From the center of the foramen, write a circle (outside the black line) and a circle (in the black line) about half the length of the bone tip.
4.Use the drawn line to cut out the shape of the fan. We will make mountain broken lines (red lines) and valley broken lines (yellow lines) in 16 equal parts. As a reference, first fold it in half, half and half, fold into a mountain fold, fold like a mountain fold and form a valley fold.
5.The fold effect, it would be like this. (positive)
6.Cut on the left side.
7.Glue on both sides of the back (yellow dotted line) and paste on the bottom side of the back. Paste both sides together.
8.The next step is to stick the fan frame and the fan face together. Place the frame on the right side of the front (red dotted line) and paste.
9.In this way, it puts it in the center.
10.Flip the paste area and allow the ring fastener to pass through, as shown in the photo.
11.Then paste the middle bone in the same way.
12.Again, all the middle bones are stuck together.
13.Paste all, as shown below. Press with moderate force.
14.This is the "back" as shown below.
15.This is the front end.
The origami used above is the main products of our company- Color Bookbinding Paper
Item: color bookbinding paper/papers for bookbinding, Grammage: 110GSM,150GSM,230GSM,250GSM, or customers required, Spcifications: A4, 70CMx100CM, or customers required. Color: Red, Orange, Yellow, Green, Blue, Violet, White, Black, Brown, Grey, customer required. etc.